Start and Log In to Drive
After installation and restarting your computer, FileCloud Drive should open automatically.
- The same content that is available from the User Portal is listed locally as a drive.
- You can add/delete/edit files that are stored on your FileCloud Server folder from the drive.
Starting Drive
If Drive did not run after you restarted your computer:
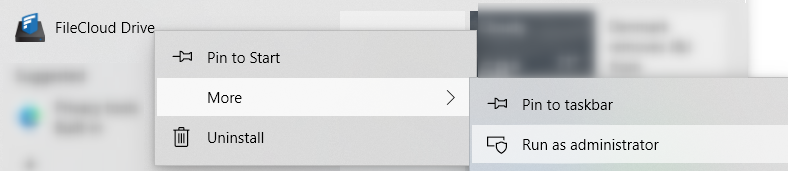
- From the Start menu, click FileCloud Drive > More > Run as administrator.
A log-in window opens.
- To change the user interface language from English, use the drop-down list at the bottom of the screen.
- Click the Get Started banner to go to the next screen.
After you click the Get Started banner in the first wizard screen, the Login screen opens: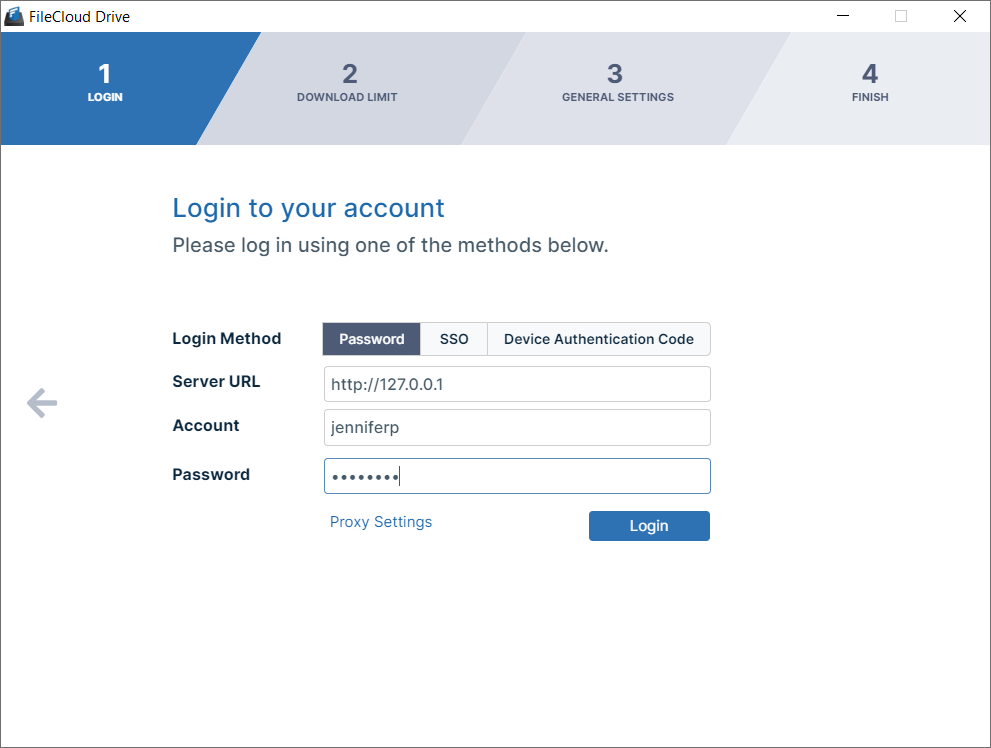
- Choose a Login Method.
To log in with SSO, see Log In Using Single sign-on (SSO).
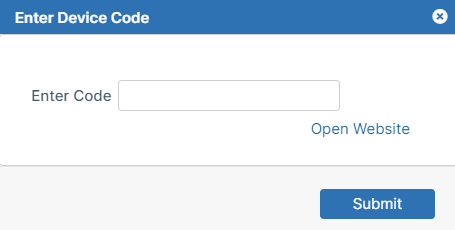
To log in using a device authentication code, see Using Code Based Authentication for Drive. - In Server URL, enter your server address.
- In Account, enter your username.
- In Password, enter your FileCloud account password.
You may enter proxy settings instead. See Proxy server for FileCloud Drive. - Click Login.
| Setting | Description | Example |
|---|---|---|
| Server URL | The URL to the FileCloud Server. You can find this URL
| https://<myteam>.<filecloud_site>.com |
| Account | Your FileCloud account name or email address. You can find this URL
| <user name> |
| Password | The password to your FileCloud account. | |
| SSO | Single sign-on (SSO) is a user authentication process that permits you to enter one name and password in order to access multiple applications. | Drive users can read about: |
| Device Authentication Code | This allows you to get a Device Authorization Code to connect to the server instead of a username and password. Your administrator must configure this option. If they do:
| Administrators can read about:
Drive users can read about: |
| Proxy Settings | If your company requires a proxy server to connect to internet, then you must provide that information. In the log-in screen of the dashboard, click Proxy Settings in the wizard's Log In screen. |
After you click Login, the Download Limit screen opens.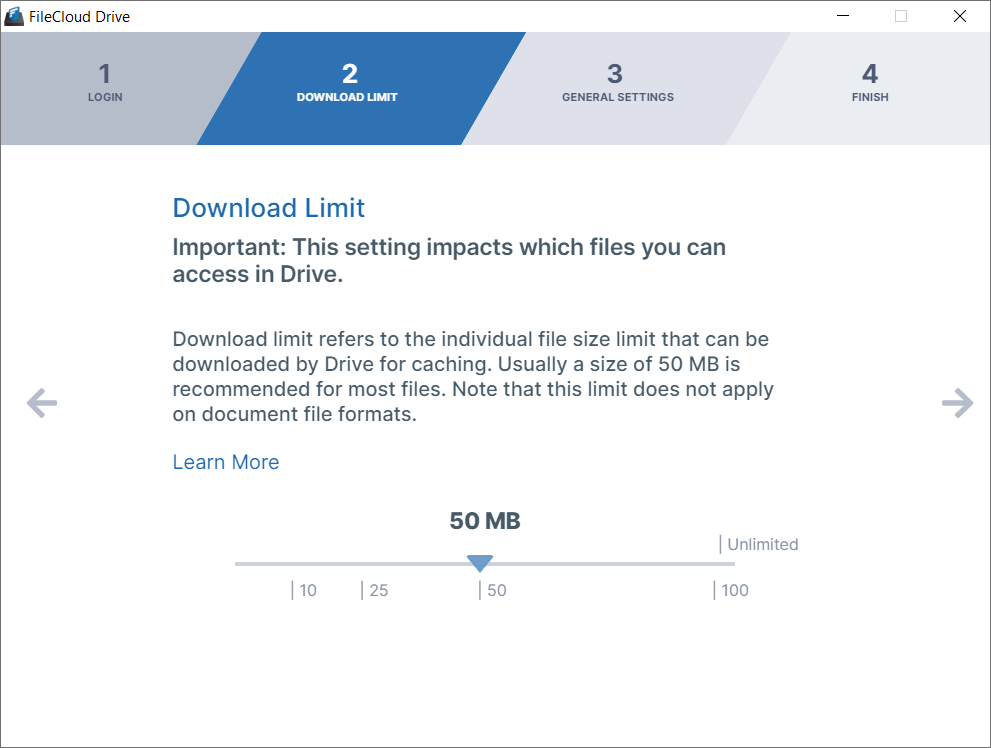
Before a user can read or update a file in Drive, the file must be fully downloaded, which may lead to heavy bandwidth usage. To limit this, FileCloud Drive has a maximum file size download limit setting which is set to 50 MB by default. You may adjust this setting depending on your system's performance and the size of files that your users commonly access in Drive.
The download limit does not apply to the following file types: .txt, .rtf, .doc, .docx, .xls, .xlsx, .ppt, .pptx, and .indd.
- To change the Download Limit, move the arrow to the left or right.
- Click the right arrow to go to the next wizard screen.
After you click the right arrow in the Download Limit screen, the General Drive Settings screen opens.
- Mount Point is entered automatically as your next available drive letter.
Optionally, choose a different drive letter in the Mount Point drop-down list. - By default, Recovered folder location is set to %APPDATA%/FileCloudDrive/data/Recovered.
Click Edit to select a new location.
For information about recovering files, see Recover Files After Interrupted Drive Uploads. - By default, system notifications are enabled. To turn off system notifications, click the slider button for Mute all notifications until it is enabled.
- By default, when Office files are opened for edit, they are not locked. To lock Office files files when they are opened, click the slider button for Lock Office files automatically on edit until it is enabled.
- By default, Drive runs when Windows starts up. To disable running of Drive when Windows starts, click the slider button for Run at Windows startup until it is disabled.
- Click the right arrow to go to the next wizard screen.
Setting the mount point's the volume name:
By default, FileCloud Drive autogenerates the volume name as FileCloudDrive. This appears in the volume label.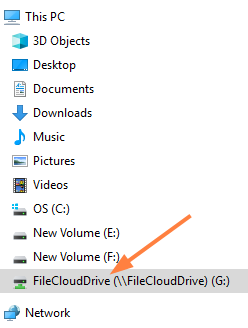
To have the volume label use the user's display name:
- Open the FileCloud Drive configuration file for editing.
It is located in Program Files/FileCloud Drive/service/config.xml. - Add the following key:
<useuniquemountlabel>1</useuniquemountlabel>
Now the user's display name appears in the volume label.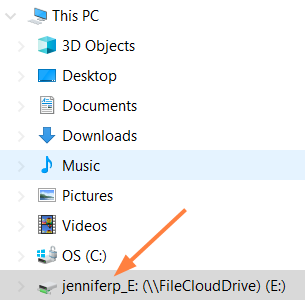
Allowing multiple instances to run:
For a server environment where multiple sessions are simultaneously running, use the keys: <multimount> and <useuniquemountlabel>
- Open the FileCloud Drive configuration file for editing.
It is located in Program Files/FileCloud Drive/service/config.xml. - To allow multiple instances to run, include the key:
<multimount>1</multimount> - Also include the key:
<useuniquemountlabel>1</useuniquemountlabel>
After you click the right arrow in the General Settings screen, the Finish screen opens.
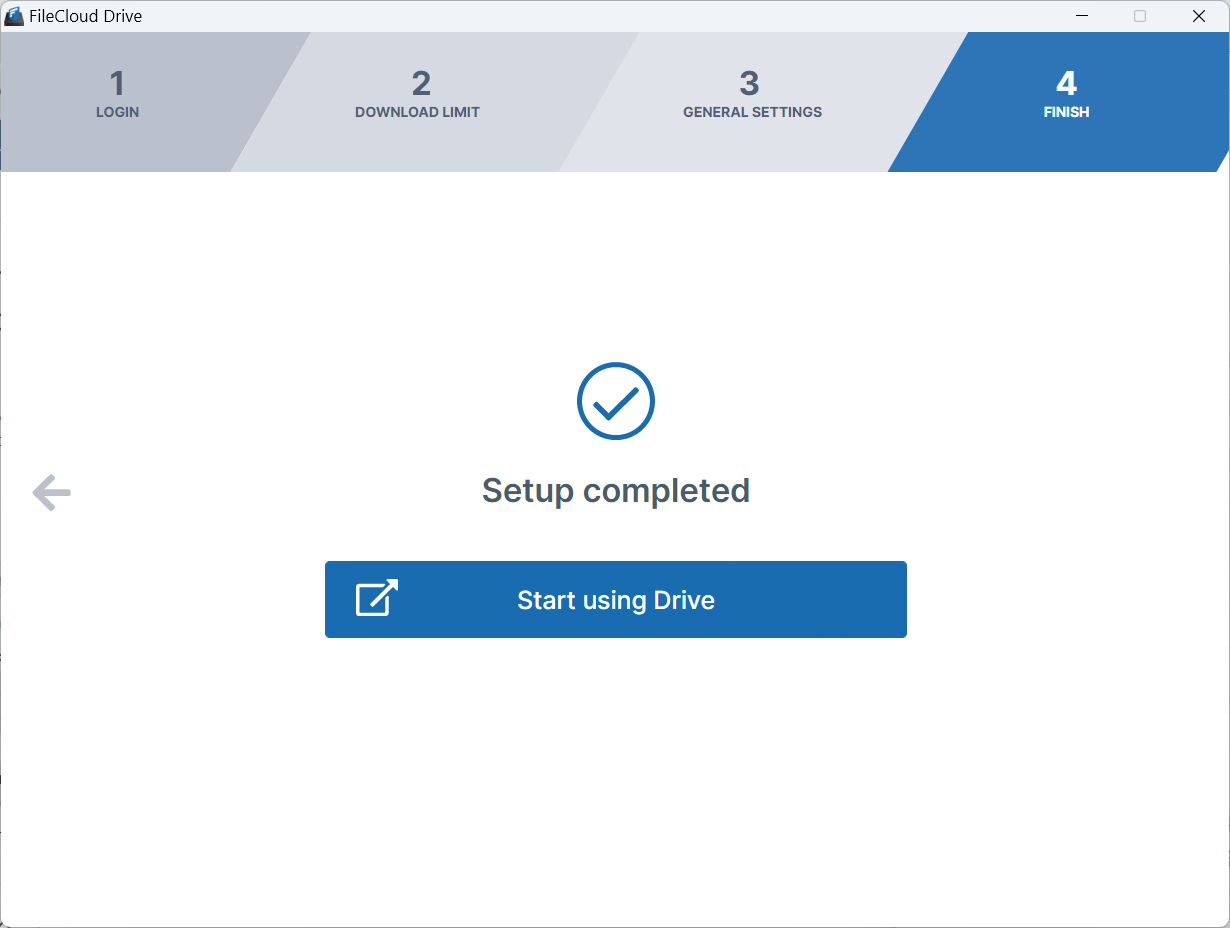
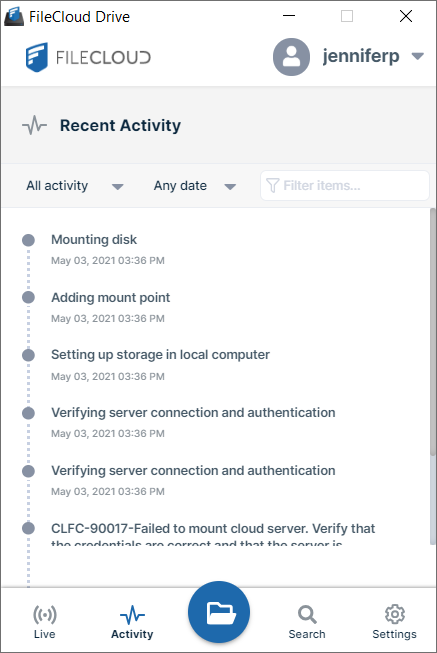
Click Start using Drive to open the Recent activity screen of the Drive dashboard and the mounted Drive folder in file explorer.
|
|
Related topics